Assembly instructions
Gear racks can be joined to any length. When joining, the spacing between the two gear racks must exactly match the pitch. For gear racks shorter than 1 metre, dowel pins may be required.
Installation steps
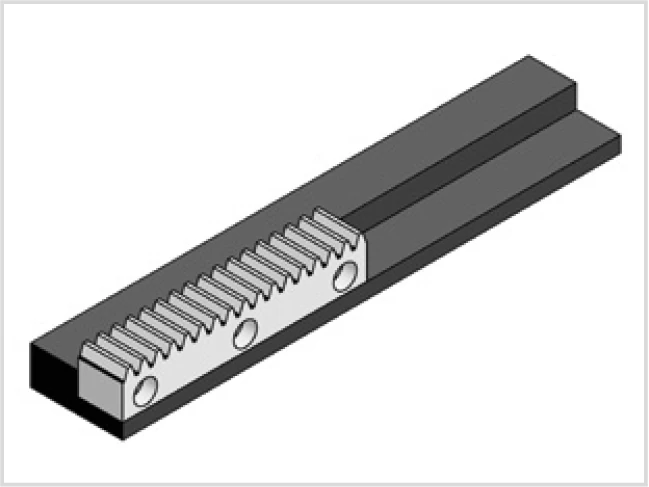
Align the first gear rack
Tighten the screws using a torque wrench. The torque value depends on the friction conditions and the strength class of the screws.
Select the correct screws
Use strength class 10.9 screws for soft or induction hardened gear racks. Use strength class 12.9 screws for case-hardened and through-hardened gear racks.
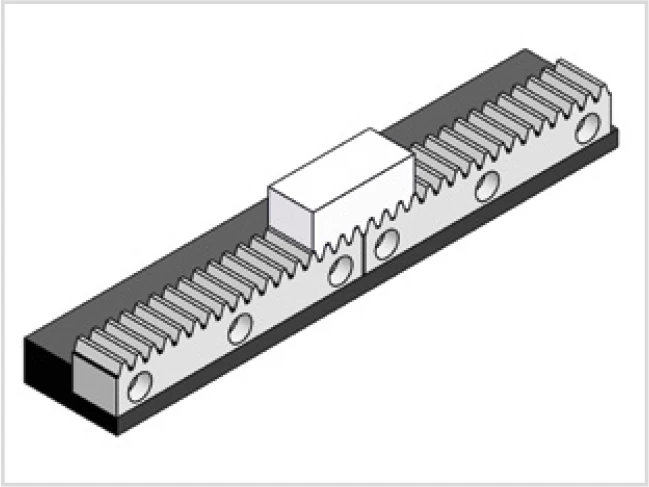
Align the next gear rack
Align the next gear rack using the mounting plate, then tighten the screws.
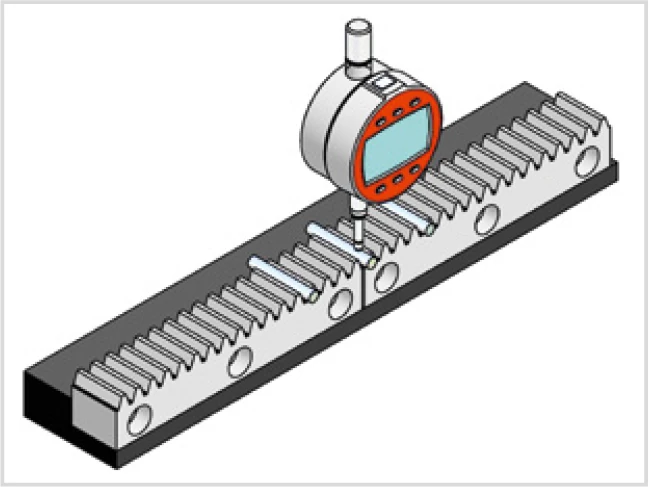
Check the height deviation
Check the height deviation at the transition point using the measuring roller, and adjust the gear rack position if necessary.
Check the parallelism
Confirm that the gear racks are parallel to each other.
Insert the dowel pins
Finally, insert the dowel pins if necessary.
Lubrication instructions
To maintain the functionality of the gear rack drive, sufficient lubrication with a lubricant suited to the operating conditions is required. Lubrication protects from wear and corrosion and reduces friction.
Lubrication key points
- In addition to the initial lubrication during assembly, the machine must be re-lubricated regularly during operation
- Electrically-driven lubrication cartridges are normally used for lubrication
- Use lubrication greases of NLGI 00 to NLGI 0
- Apply the grease to the drive pinion or the gear rack with a felt pinion
- Typical lubricant: Klüber Microlube GB 0
Further information
A detailed version of the installation instructions can be downloaded at:
www.schneeberger.com/downloads